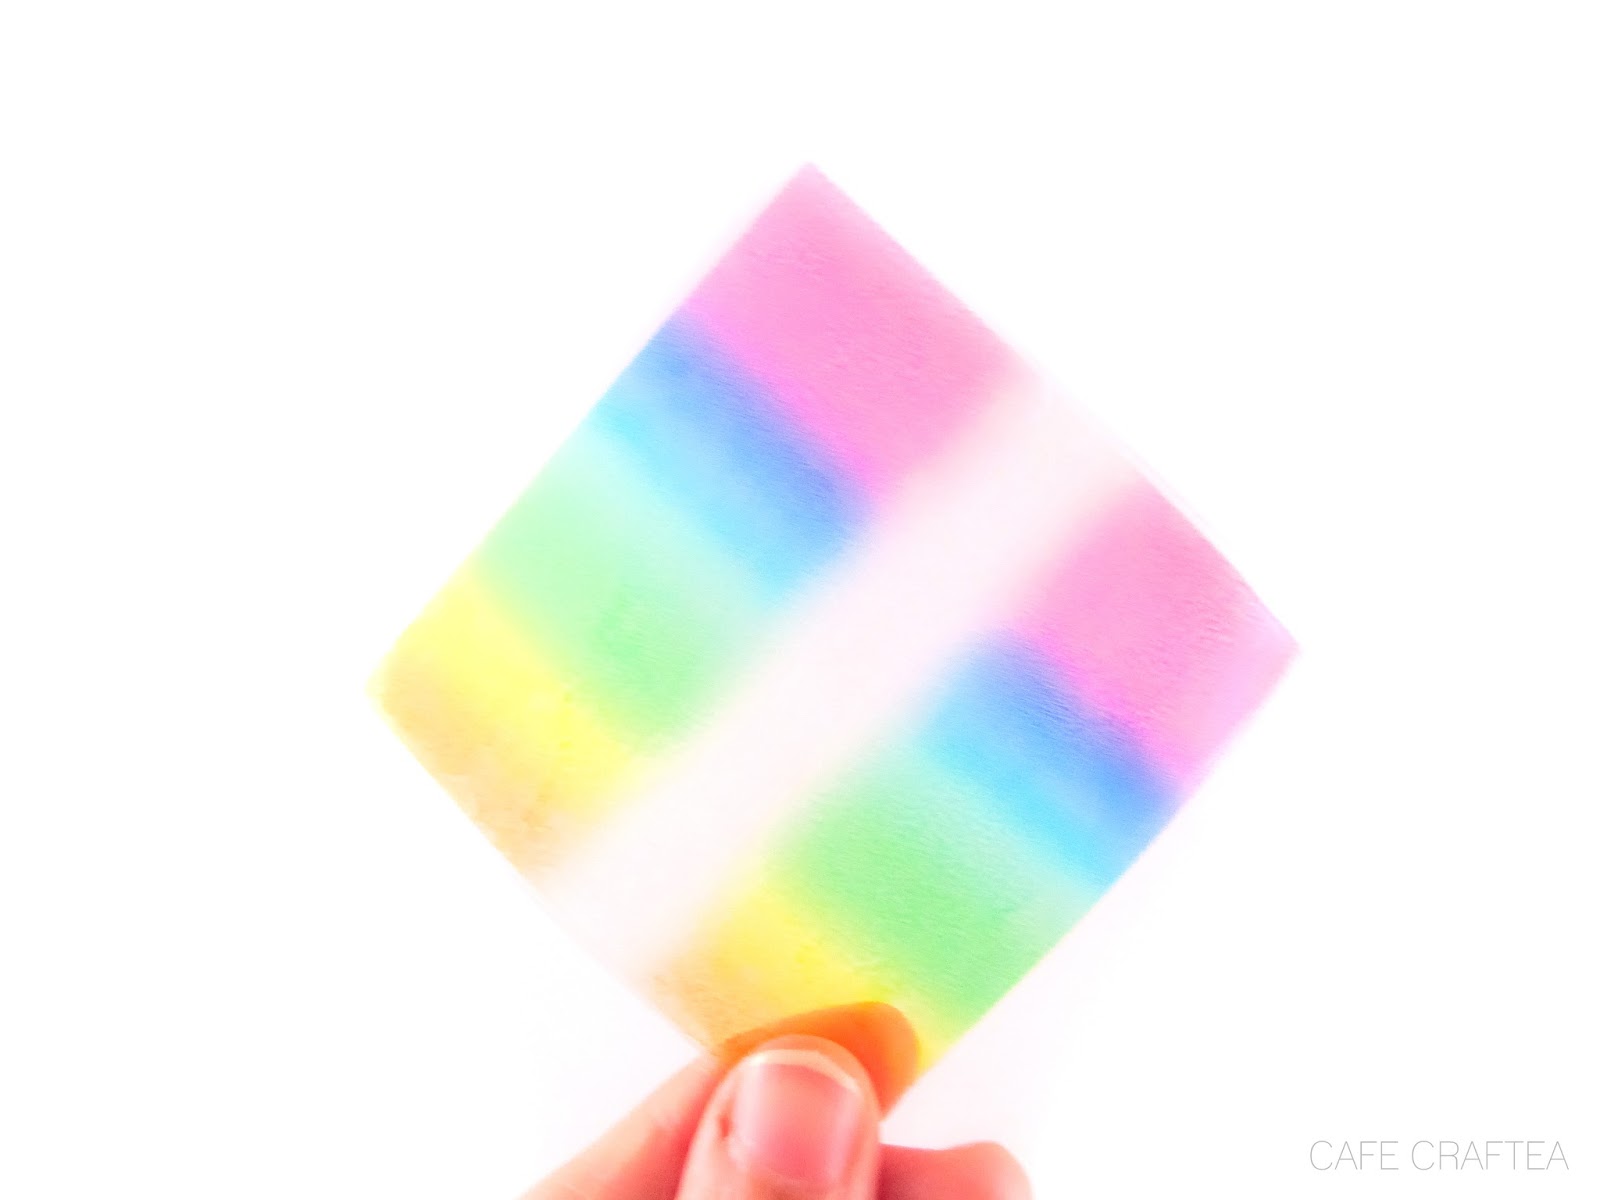
DIY Rainbow Photo Filter
(Difficulty: Easy)
Supplies
(1) Rainbow image (below, right-click and save image)
(2) Clear printable plastic film (you can find this at office supply stores such as Office Depot, Staples, etc)
*I only had adhesive clear printable film/sticker paper on hand, so I used that*
(3) Adhesive laminating sheets (office supply stores)
(4) Scissors
(2) Clear printable plastic film (you can find this at office supply stores such as Office Depot, Staples, etc)
*I only had adhesive clear printable film/sticker paper on hand, so I used that*
(3) Adhesive laminating sheets (office supply stores)
(4) Scissors
| What's ReadyCart? |
1. Print and cut out the rainbow image onto your adhesive/regular plastic film.
2. Cut out a laminating sheet twice the size of your film.
3. Peel and place your film down on the sticky side of your laminating sheet. Be careful not to touch the ink; it might smear!
4. Fold over your laminating sheet so that both sides of your film are covered. Smooth out any air bubbles.
5. Trim excess of the laminating sheet off and it's now ready to use!
6. To use, place the filter in front of your camera and load up a camera app. Move the filter as needed to achieve desired color effect. Play around with rotating the filter to different angles and adjusting the distance between the filter and the camera!
You get a colorful, dreamy effect using the filter. Here's a couple of pictures I took using my homemade photo filter!


If you want to keep up with my posts and stay updated, Cafe Craftea's on Facebook now! I'll be posting announcements about blog posts, my upcoming shop, bargain hunting, food, future giveaways, and all other sorts of fun stuff. Leave a comment, drop me a suggestion, or just say hi!


I actually never thought you could put semitransparent coloured things in front of your camera to get different effects. Good to know! ��
ReplyDeleteYup! Although these days, all those phone filter apps make this old-school method obsolete :(
ReplyDeleteQuesto sito web ha davvero tutte le informazioni che volevo su questo argomento e non sapevo a chi chiedere.
ReplyDelete
ReplyDeleteIt’s actually great and useful information.
ReplyDeleteThank you for sharing this useful information with us.
ReplyDeleteHard to ignore such an amazing article like this.
ReplyDeleteYou really amazed me with your writing talent.
ReplyDeleteIt’s truly a nice and helpful piece of information.